Guides · October 21, 2026 · 10 min read
How to Go Live on Whistlr for the First Time: Your Phone, a Title and the Start Button
Going live on Whistlr for the first time takes five taps: Create, LIVE, a title, a category, Start. Any account can stream, with no followers or gear required.
Going live on Whistlr takes five moves: tap Create, slide over to LIVE, let the app use your camera and mic, type a title and pick a category, then hit Start. Every account can do it. You don't need a minimum number of followers, you don't have to apply, and there's no separate creator profile to set up first. The phone already in your hand is all the equipment required.
Plenty of people assume streaming means a lighting rig, a capture card and a posted schedule. On Whistlr, it can be as relaxed as filming your coffee order and chatting with whoever turns up. Below you'll find the short list of things you need, the exact steps, how to fill in your stream details, what's on screen once you're broadcasting, the tools that help you feel at ease, and what your stream turns into after you finish.
Who can go live on Whistlr?
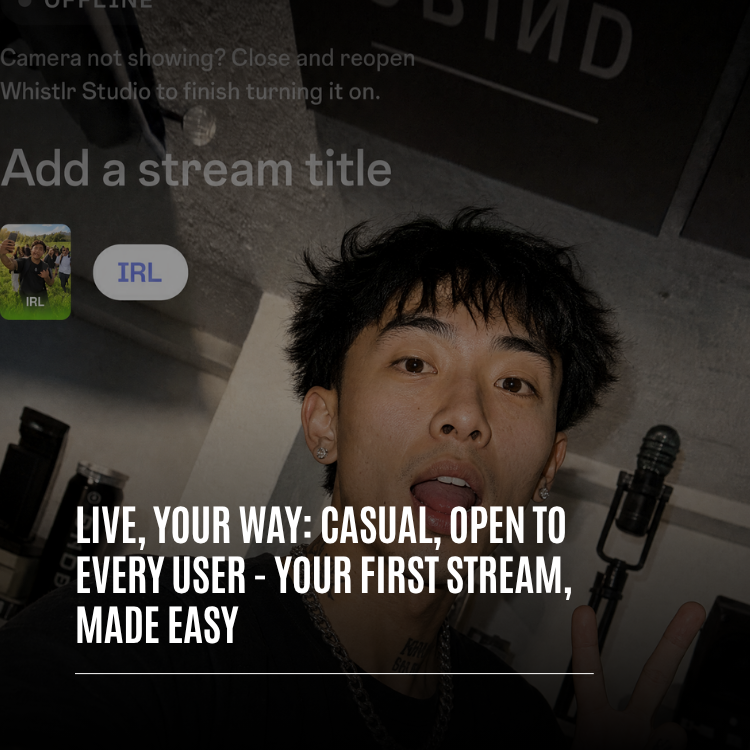
Everyone with an account. Live isn't a perk you unlock later. Open the Create menu and you'll see LIVE sitting beside posts, stories and Minis. Choose it and you arrive on the stage, which is the same go-live screen experienced streamers use, with your camera feed already showing behind the controls.
The stage keeps choices to a minimum: your camera view, a field for the title, a category, and the Start button. A small switch lets you pick between Stream Mobile, which broadcasts from the phone itself, and Stream Desktop, which is for people sending a stream from a computer. If all you want is a conversation, you can ignore everything else on the screen.
Why low-key streams suit Whistlr
Whistlr is built around people who actually know each other, and a live stream is one of the easiest ways to hang out with them. Because the app shows you what your friends are up to before anything else, the first people to join your stream are usually familiar faces. A debut broadcast ends up feeling less like a performance and more like inviting a few people round.
Going live should feel about as ordinary as sharing a photo. No permission slip, no minimum audience, no studio: just point the camera, say hello and let the people who care about you find their way in.
— The ETAPX team
What you need before your first Whistlr live stream
The requirements fit on a sticky note.
| Requirement | Why it matters | Good to know |
|---|---|---|
| Any Whistlr account | Broadcasting is open to all accounts | No follower threshold, no creator application |
| Camera and mic permission | So your audience can see and hear you | The app asks the first time. If you declined before, a Camera access card links you to Settings |
| A title | Streams cannot start without one | Tapping Start with a blank title opens the stream info editor for you |
| A stable connection | Smoother video for viewers | Home Wi-Fi or solid mobile data is fine |
Lights, external microphones and broadcasting software are all optional extras. Add them if streaming becomes a regular thing; skip them entirely for now.
How to go live on Whistlr, step by step
Expect the first run-through to take a couple of minutes. Once you've done it, you'll be on air in seconds.
- In the Whistlr app, tap Create, slide across to LIVE and tap to bring up the stage.
- Grant camera and microphone access if prompted. Your own camera view appears behind the controls.
- Keep the toggle on Stream Mobile so you broadcast from the phone you're holding.
- Tap "Add a stream title" and describe what you're doing. You have 140 characters.
- Tap the category to change it. Phone streams default to IRL, which covers most everyday broadcasts, though you can search for or pick others such as Just Chatting, Music, Art, Fitness & Health, Food & Drink or Travel & Outdoors.
- Optionally add tags, a language, content labels or a Go Live Notification.
- Hit Start, wave at the camera, and you're broadcasting.
How to fill in your stream details so viewers discover you
You describe the broadcast in the stream info editor. The title is the only mandatory part, yet spending an extra half-minute here noticeably changes who finds you. Tap your title or category on the stage to open it before you start.
Title
With 140 characters, the title is your shop window. Describe the present moment plainly, like "Repotting every plant on my balcony", "Late-night guitar, taking requests" or "My first ever stream, come say hi". Being precise beats being witty, because people decide in an instant whether to tap.
Category
Viewers browse live streams by category, so this is how they find what suits their mood. You'll see popular options with artwork and a search bar for anything niche. IRL is preselected for camera streams since it fits everyday life. Whistlr's guidelines ask that you categorize accurately, so choose whichever honestly describes your stream.
Tags
Tags add the detail a category can't capture. You can attach as many as 10, each 25 characters at most, without spaces or special characters. A language tag is added for you; after that, try your city, a hobby, a skill level or the vibe. Tags help niche audiences discover you even before you've built a following.
Content Classification and language
When your stream contains something not every viewer wants to see, you're required to flag it. The Content Classification area offers labels including mature-rated games, significant profanity, gambling, and politics and sensitive social issues. You can also specify the language you'll speak. Most relaxed streams need no labels at all, but now you know where to look.
Go Live Notification
This is a 140-character message your followers receive when you start. Each stream gets just one, so give people a reason to come: "Live from the beach, pull up a towel" will do far better than "I'm live".
| Field | Mandatory? | Limits |
|---|---|---|
| Title | Yes | 140 characters |
| Category | Preset (IRL for phone streams) | One per stream |
| Tags | Optional | 10 tags, 25 characters each, no spaces or special characters |
| Content Classification | When your content calls for it | Any labels that apply |
| Go Live Notification | Optional | One per stream, 140 characters |
Stream Mobile or Stream Desktop: which should you pick?
The toggle on the stage switches between the two before you start. Neither choice changes anything about your account.
Stream Mobile
This is the fastest route. The phone's camera and mic carry the whole broadcast, and your live controls float over the picture. You can swap between front and back cameras mid-stream, try effects, and walk viewers around wherever you are. For a debut, a casual chat or anything happening outdoors, it's the obvious pick.
Stream Desktop
Already stream from a computer, or curious to try? Stream Desktop links that setup to Whistlr and works with OBS Studio and other well-known streaming apps. The stage gives you the details to paste into your software plus a short guide, and a signal coach tells you in everyday language what it's receiving, from still waiting to signal received. Once the preview looks good, tap "I'm set up, let's go". If your software drops out partway through, you remain live on Whistlr while you restart it.
What can you do while you're live on Whistlr?
All your live tools share one screen, and nobody expects you to master them first time. Most newcomers just talk and pick up the extras naturally.
- Chat: messages scroll across your video as they arrive, and you'll see new people join. Greet them by name, and pin a comment to keep today's plan visible.
- Likes: viewers can tap to send floating hearts, a nice signal that people are enjoying it even if they're quiet.
- Questions: viewers can submit questions that go into a list only you see, so nothing gets lost; pick one and answer it on air.
- Polls: hand a decision to the audience, like the next song or tonight's recipe, and let everyone watching vote.
- Guests: viewers can ask to join, and you can invite people who are watching or accounts you follow. As many as eight guests can be on screen together. You approve who joins, can remove anyone, and can switch requests off.
- Photos: share an image from your camera roll, such as a sketch, a recipe card or an old snapshot, and it appears in a small window over your video.
How to feel comfortable on camera during your first stream
Being on camera live can feel exposing at first. That's why the full set of host controls is available from your very first broadcast, and you can set them up in advance.
- Hidden words: list terms you never want in chat, and any message containing them stays hidden from everyone.
- Mute: silence a specific person's comments for the rest of the stream.
- Comments off: pause chat entirely for a quieter broadcast, then reopen it whenever you like.
- Moderators: give a friend you trust the power to tidy chat while you host.
- Remove and block: send someone out of the stream at once, or block them from your profile, posts and lives altogether.
Our separate guide to moderating a live stream on Whistlr goes through each control in detail. For a first stream, popping a few hidden words in before you start is usually enough to relax.
What happens after your Whistlr live stream ends?
Finishing a stream isn't the end of its life. A summary screen appears showing how long you were on air and your highest viewer count at any point, which gives you a fair read on how it went.
- A replay lands on your profile on its own, so anyone who missed it can catch up. You can delete it from the post whenever you want.
- You can save the replay to your phone's Photos, then trim highlights or turn the best bits into Minis.
- You can send the replay to friends right from the summary screen.
- Streams that only last a few moments don't produce a replay, so a mistaken tap on Start won't clutter your profile.
That's a strong argument for going live even with a tiny audience. A quiet first stream still becomes a post that keeps picking up viewers for days.
It's also worth glancing at the summary screen with a little curiosity rather than judgment. How long you stayed on and your peak audience are simply a baseline. Stream again next week, compare the two, and you'll learn far more about what works for you than any single night could tell you.
Next steps: Live Havens, Gems and Live Shopping
Once streaming feels natural, it plugs into the rest of Whistlr, helping your broadcasts travel further and, if you choose, pay.
Pin your stream to a place
Broadcasting from somewhere interesting, such as a market stall, a match or a neighborhood event? Post the stream as a Live Haven at your current spot. It shows on Nearby for as long as you're live and closes when you stop, so people close by can spot it and drop in.
Earning when you're ready
Broadcasting costs nothing. Making money from it is optional and comes later. WTC Gems and Live Shopping switch on once you've finished verification and set up a payout account, the same process used for every kind of earning on Whistlr. After that, viewers can send Gems, you can display a Gems goal that fills as support comes in, and you can see who your top gifters are. Verified business hosts can also pin an item from their Whistlr GO store for viewers to buy during the stream.
None of this is required. Lots of people stream simply to spend time with others, which is exactly what live on Whistlr was made for.
Tips for a great first live stream on Whistlr
Polish matters far less than presence. These small habits make a first broadcast easier and keep people watching.
- Announce it. Share a story saying when you'll be on, then send your Go Live Notification as you start.
- Be specific in the title. "Making my mum's dumpling recipe" will always beat "Live now".
- Plan loosely. Pick one activity, ideally something for your hands, so you're not talking nonstop.
- Say hello to people by name as they arrive. It makes a small room feel warm.
- When conversation dries up, open a poll or answer a question.
- Set your hidden words before you start so you never think about them mid-stream.
- Mind your light and sound. Face a window or lamp and stay close enough to be heard.
- Forget the numbers. Five people who stayed for the whole thing is a win.
Your first stream is a rehearsal with friends in the audience. Keep it short, keep it real, and let the tools grow with you if you decide you want more.
— The Creator Studio team
You don't need a plan, a crowd or a studio to start. Open Whistlr, tap Create, choose LIVE and say hi to the people who'd love to see what you're doing.
Frequently asked questions
Who can go live on Whistlr?
Every Whistlr account can broadcast. There's no follower requirement and nothing to apply for. Tap Create, pick LIVE, give the stream a title and press Start.
What are the steps to begin a Whistlr live stream?
Tap Create, slide to LIVE and give the app your camera and mic. Write a title of up to 140 characters, choose a category and press Start. You'll be on Stream Mobile by default, or flip to Stream Desktop if you'd rather send the stream from a computer.
Is a phone enough to stream on Whistlr, or do I need extra gear?
A phone is plenty, since Stream Mobile uses its camera and microphone with the controls over your video. If you outgrow it, Stream Desktop lets you broadcast through OBS Studio or another popular streaming app.
What happens to my Whistlr live stream after it ends?
Your profile gains a replay on its own, which you're free to delete whenever you like. The summary screen shows your time on air and peak viewers and lets you save or share the replay. Very short streams don't create a replay.
Is it possible to earn from Whistlr streams?
It is, after you finish verification and set up a payout account. Viewers can then send WTC Gems, you can display a Gems goal, and verified business hosts are able to feature Whistlr GO products through Live Shopping. Broadcasting itself is always free.